If you've been wanting to get back out on your bike but aren't sure what to check for before you do, this list is for you. We outline three critical safety checks to do before you hit the road for a test ride if you have a bike that you haven't used in ages.
This guide assumes you have a bike with rim brakes and tires with inner tubes, as opposed to tubeless tires.
1. Inspect tires and make sure they hold air
First of all, visually inspect your tires. Check the tread and look for cracks or fraying, especially on the surface along the rim. Tire wear will impact how long your tires will hold air. Minor cracking or fraying may be okay for a test ride, but for longer rides or more regular use, you'll want tires that are fully intact and have plenty of tread left.
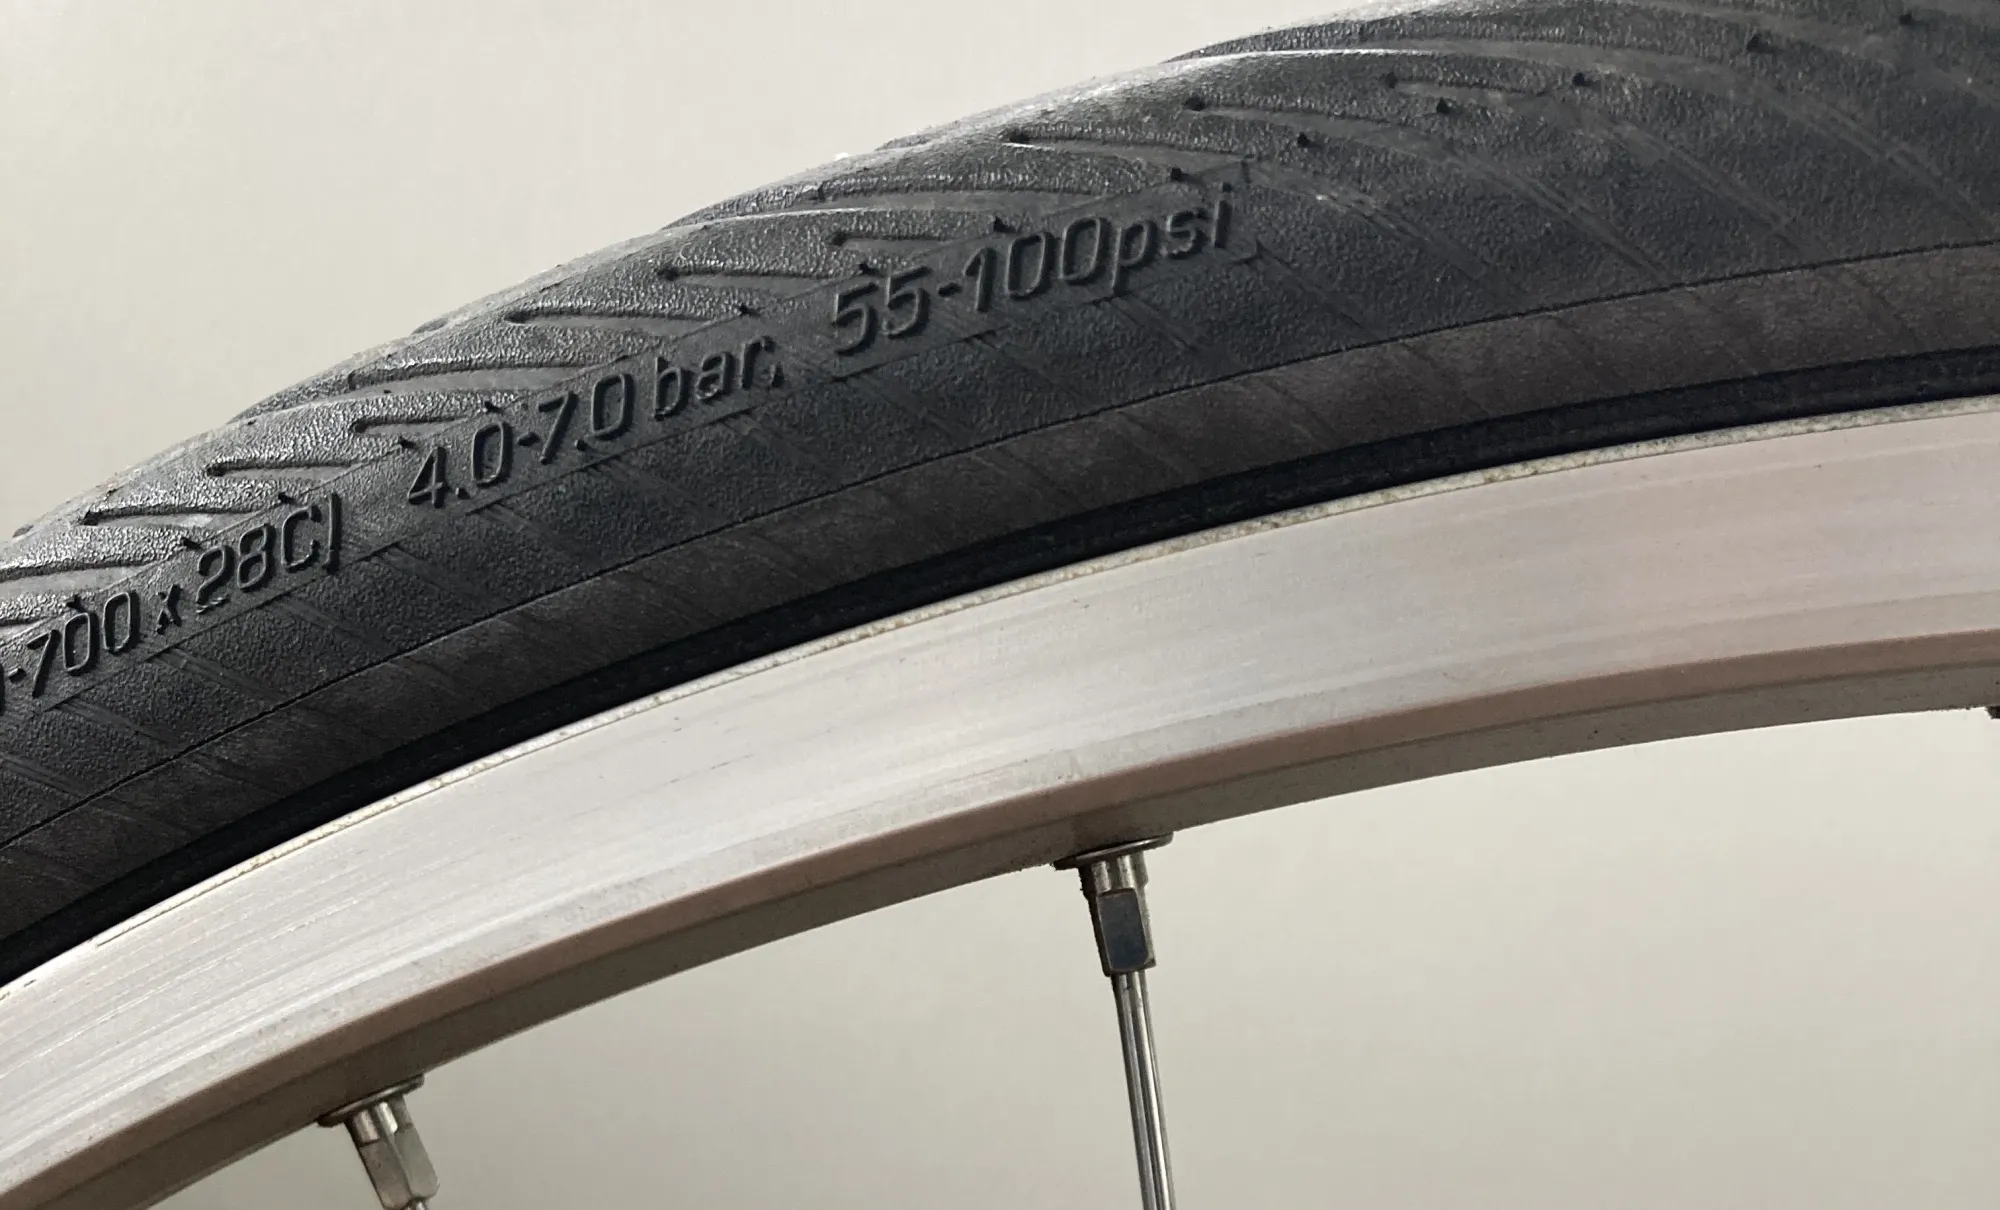
Next, inflate your tires. Most tires list their ideal air pressure range in PSI on the side of the tire near the rim. The writing may be faint, so look closely and move to better lighting if you don't see it at first.

Once you've pumped up your tires to within the listed PSI range, squeeze them in a few different places and listen carefully for any obvious air leaks. Check them again once you're done with the rest of the other safety checks to make sure they're still full of air.
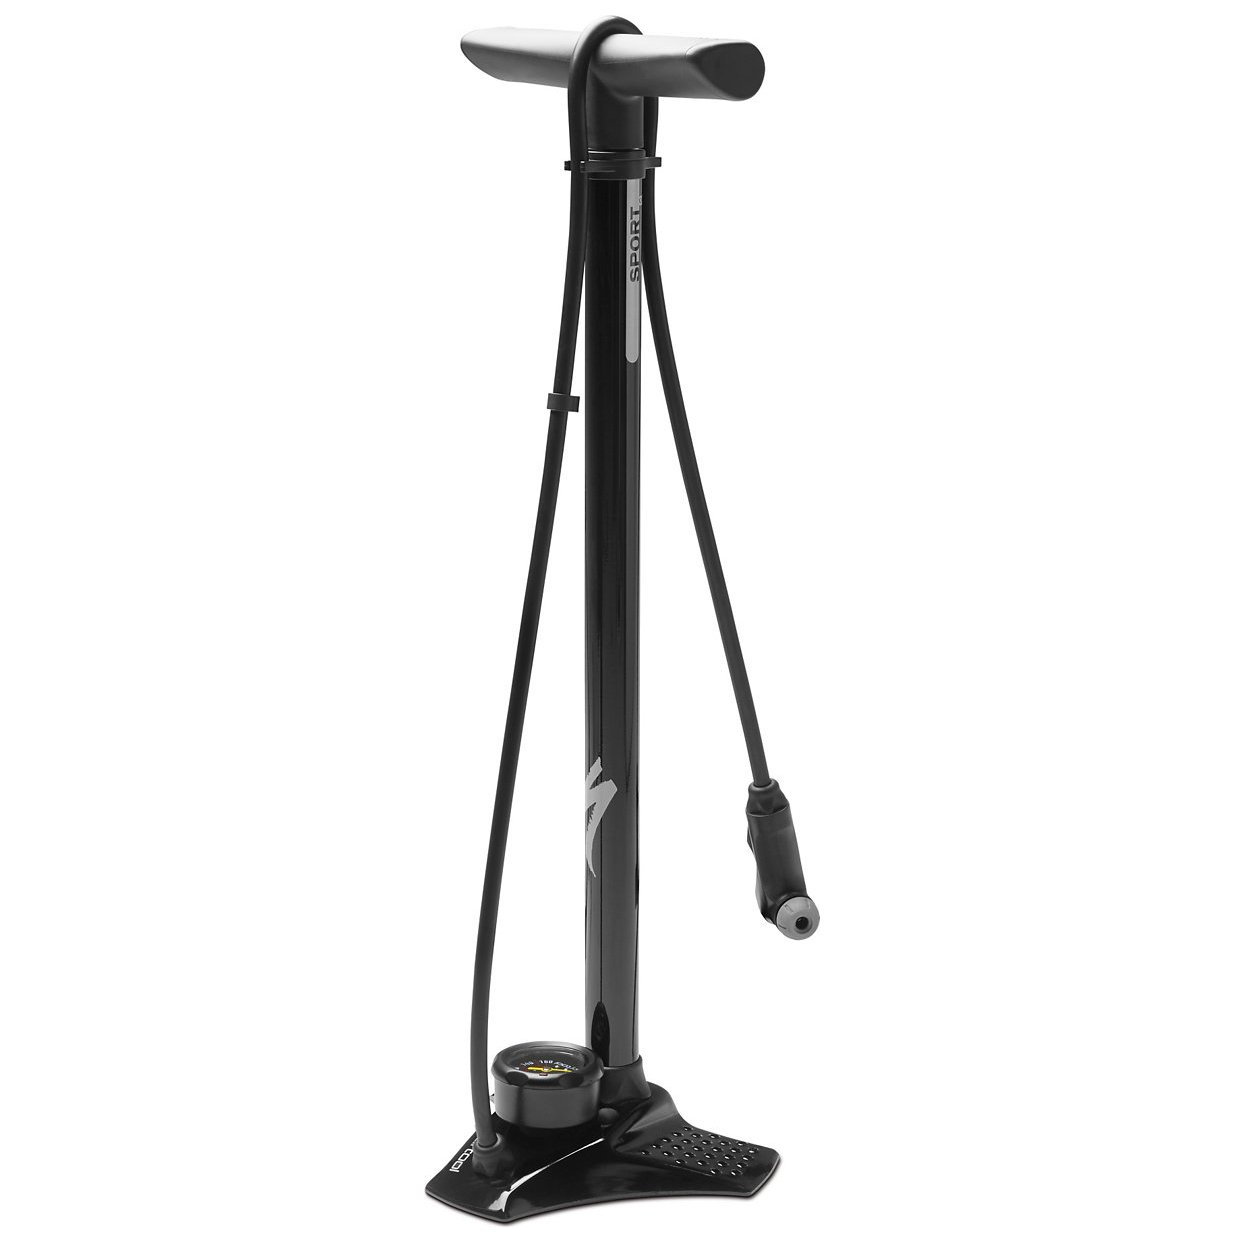
When you're riding more regularly, you'll need to add air to your tires every week or two, so if you don't have a pump at home yet, it's worth investing in one. You can often find inexpensive used pumps on local online marketplaces or new at a local bike shop. For home use, we recommend 1) a floor pump 2) that supports both Shrader and Presta valves 3) with a PSI gauge, like one of these:


2. Test brake levers and check brake pads for wear
Your bike's braking system consists of 1) the brake levers on the handlebars and 2) the brakes themselves, usually near the top of each wheel. The levers are connected to the brakes by a cable that, when pulled tight by the squeezing the lever, engages your brake pads to your tire rim to stop the wheel from turning. The left brake lever is almost always connected to the front brake, and the right brake lever is almost always connected to the rear brake.
Squeeze each brake lever, following the cable to see how it engages the brake. Check that the brake pads attached to each brake hit the tire rim, as opposed to the tire itself.
Inspect the brake cable for any rust or fraying. Frayed brake cables are a dealbreaker even for a test ride.
Lift up the front half of the bike so you can spin the front wheel in place. Squeeze the left brake lever and see that it stops the wheel. This is a bit harder with the rear wheel and right brake lever, but give it a try if you can.
Inspect the brake pads. Rim brake pads that still have stopping power will have visible ridges. If your brake pad surface is worn down and nearly smooth, replace the brake pads before heading out.
3. Run through your full gear range
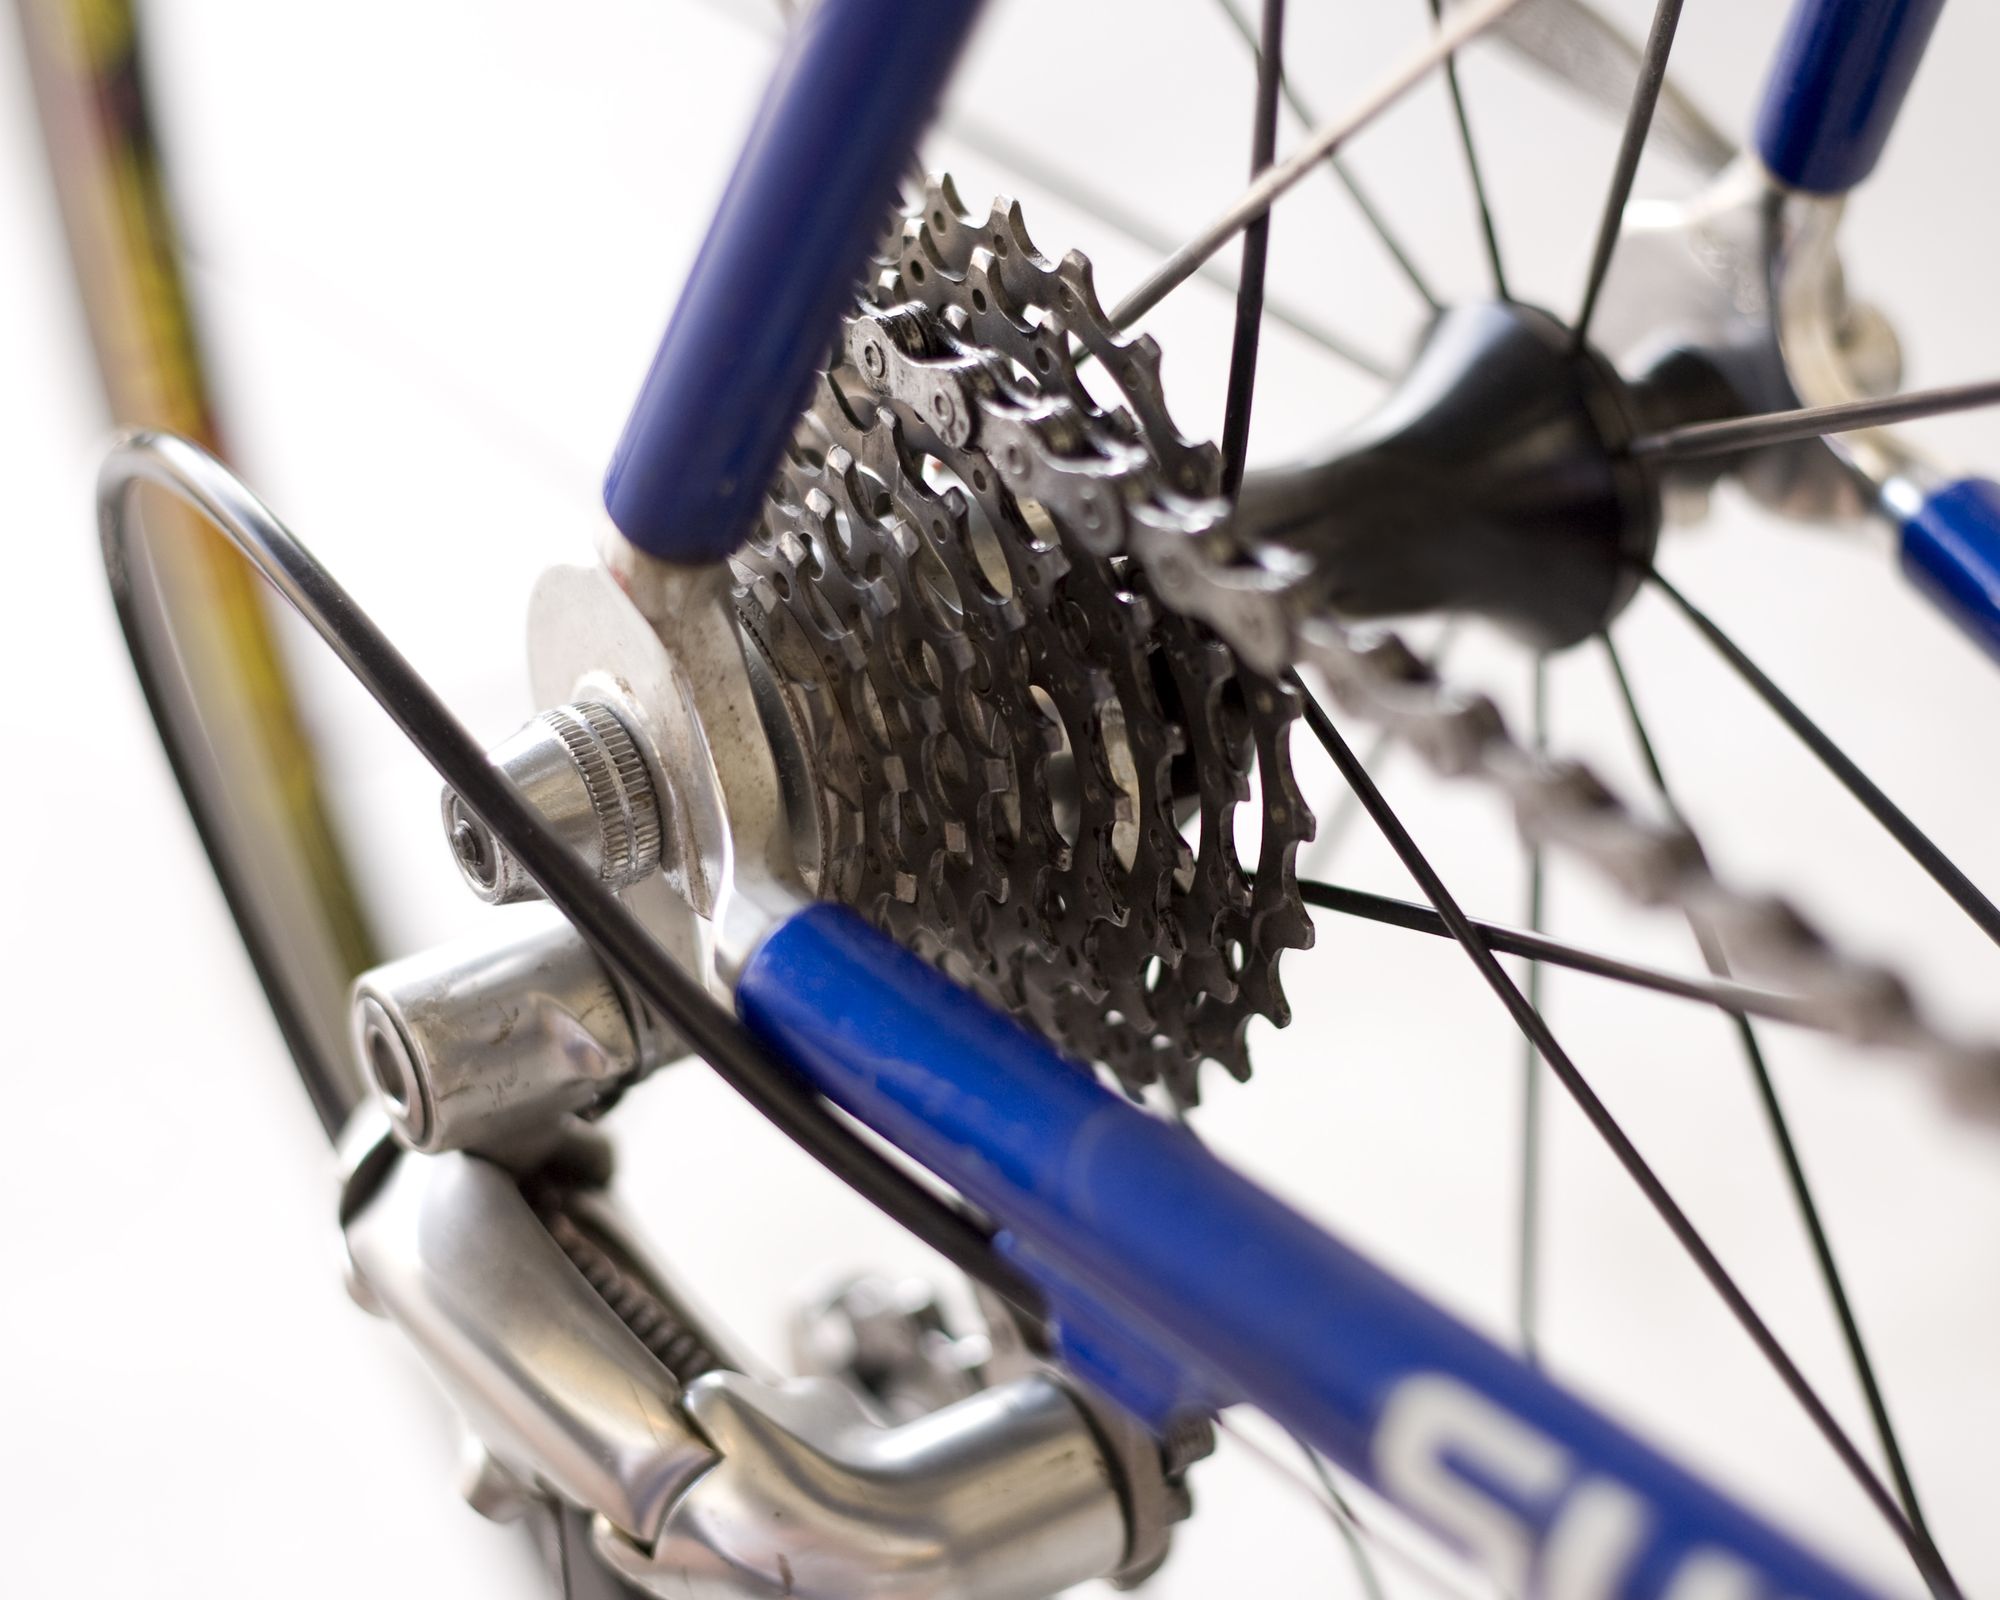
You'll need a friend for this part! Get your friend to lift the back half of your bike and spin the pedals forward with their hand. While your friend is moving the pedals, use the shifters on the right side of the handlebars to shift through the full range of rear gears.
As you shift, make sure the chain doesn't fall off either the smallest cog or the largest cog closest to the spokes and get stuck in the wheel. This is not something you want to discover while you're on a test ride.

Note whether the chain has trouble moving up or down the gears. If it does, this is not a dealbreaker for a test ride, but something you'll want to be aware of and fix for future rides.
You've made it through all the safety checks, so it's time to revisit your tires. Are they still full of air? If so, you're all set on the safety front!


Member discussion