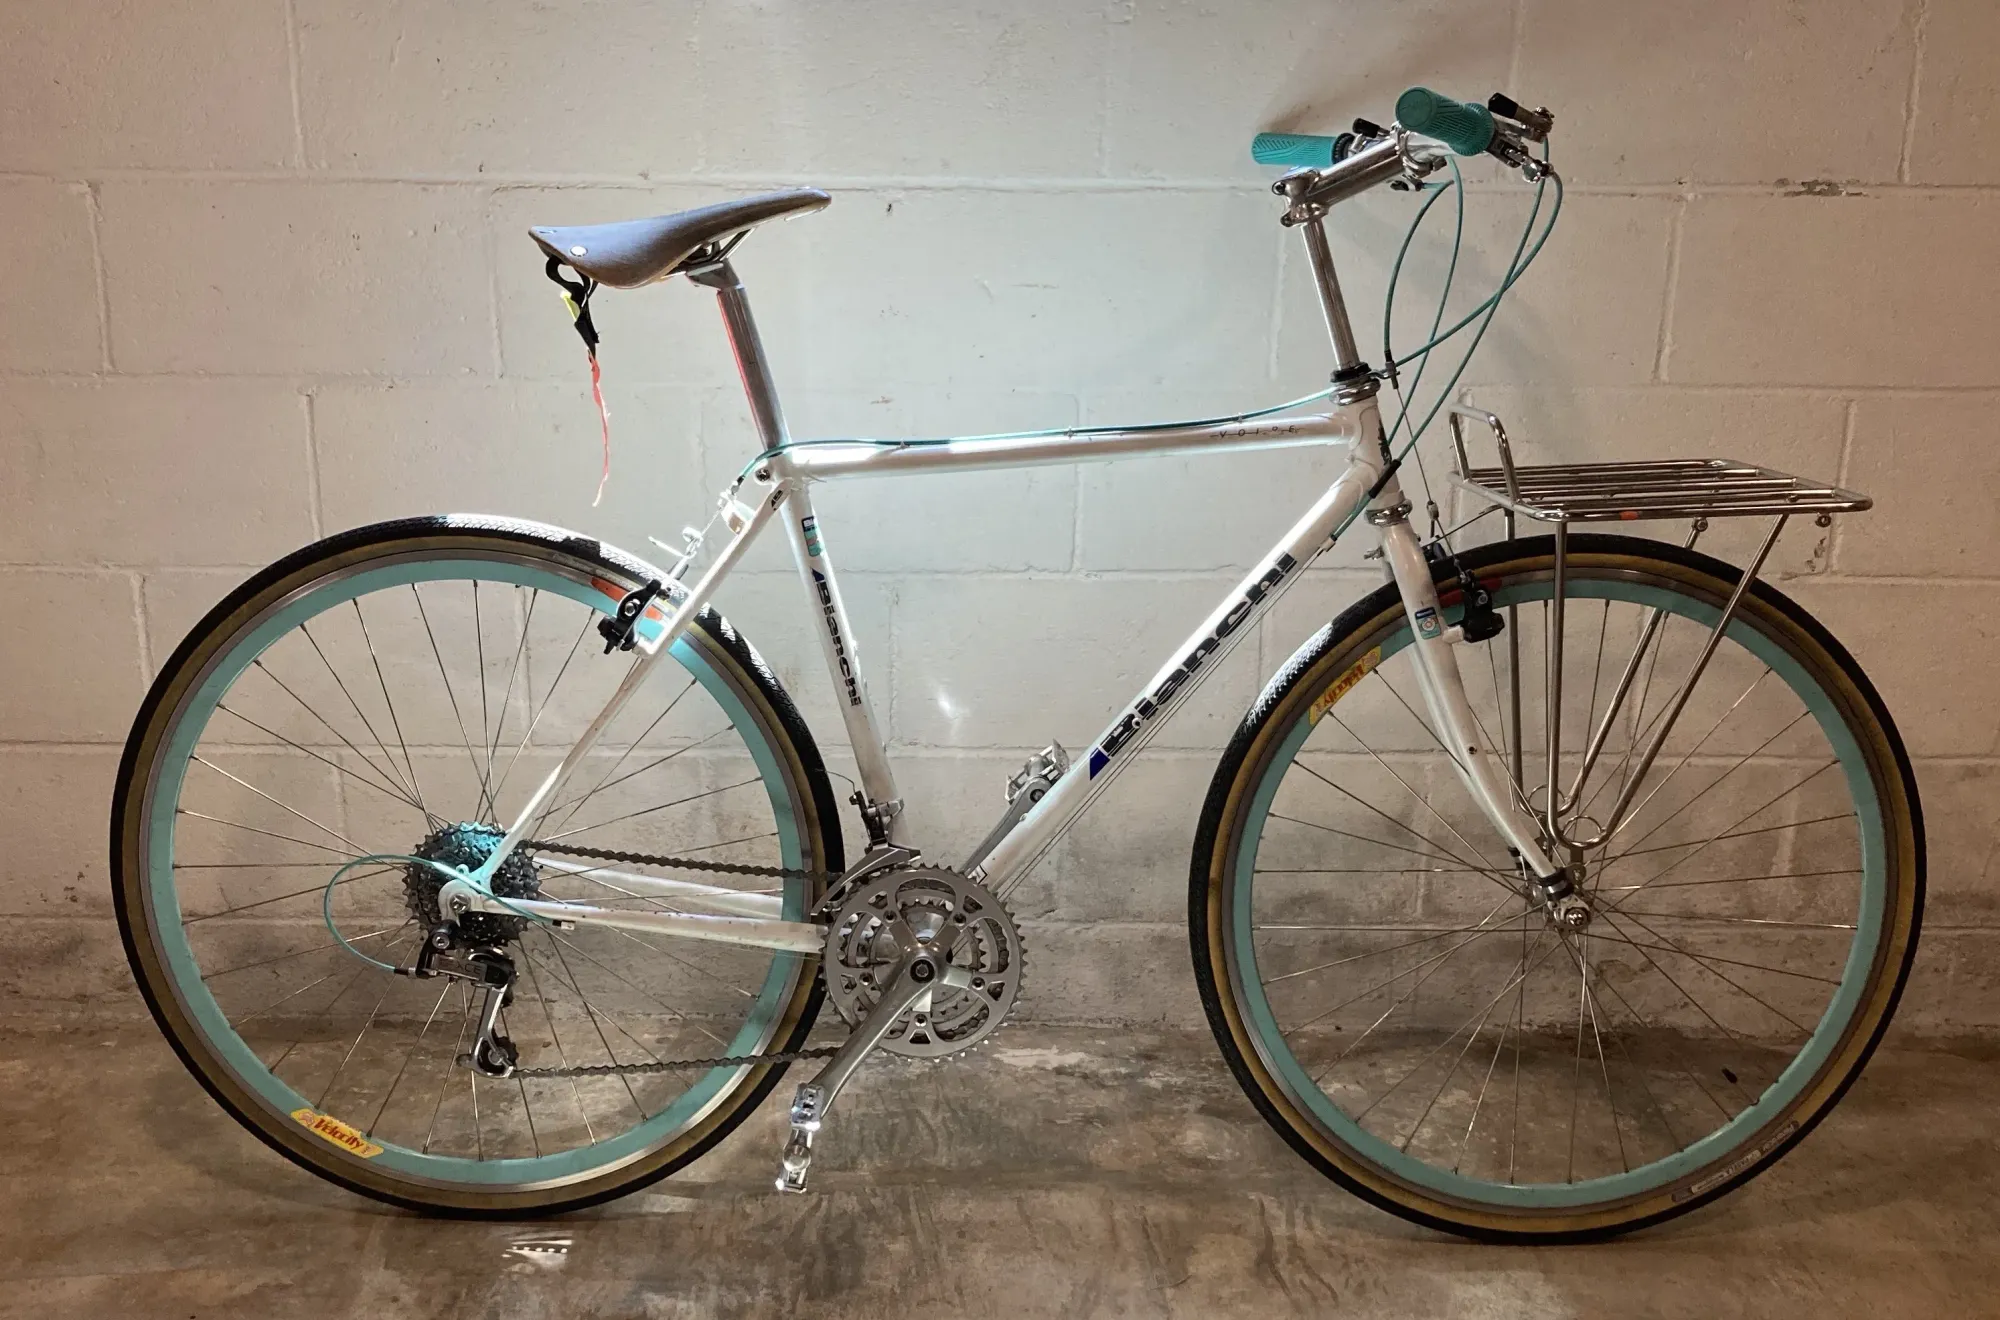
I got this sweet 1989 Bianchi Volpe for commuting around Brooklyn when I lived there. I didn't know anything about bikes but I'd heard the name Bianchi and I liked the white and blue color scheme. I even insisted on white tires back then, even though there were almost no all-white tires that were actually decent for city riding.
Fast forward a few years: I moved to the west coast and rolled into the bike shop in my new neighborhood. I was struggling to climb the hills in the area and asked if they could they recommend anything to make my ride more comfortable. They said the hills would just take practice, but immediately suggested wider tires to cushion the ride. This required convincing me that black tires with tan sidewalls were just as cool as white tires, which I reluctantly accepted. They also asked if I might be open to replacing my narrow, rock hard saddle. I was skeptical that a saddle change would help (lol), so I kept it. It's funny to look back at all the discomfort I accepted as normal then, before I knew that riding a bike shouldn't hurt.
Fast forward a few more years: I got a different bike that was better suited to touring, but I wasn't ready to let go of the bike that put me on this whole life-changing bike path. Maybe my partner would like the Bianchi? Except that they weren't much of a biker at all, were spooked by drop bars, and were unenthused about the prospect of climbing hills as cars whizzed by.
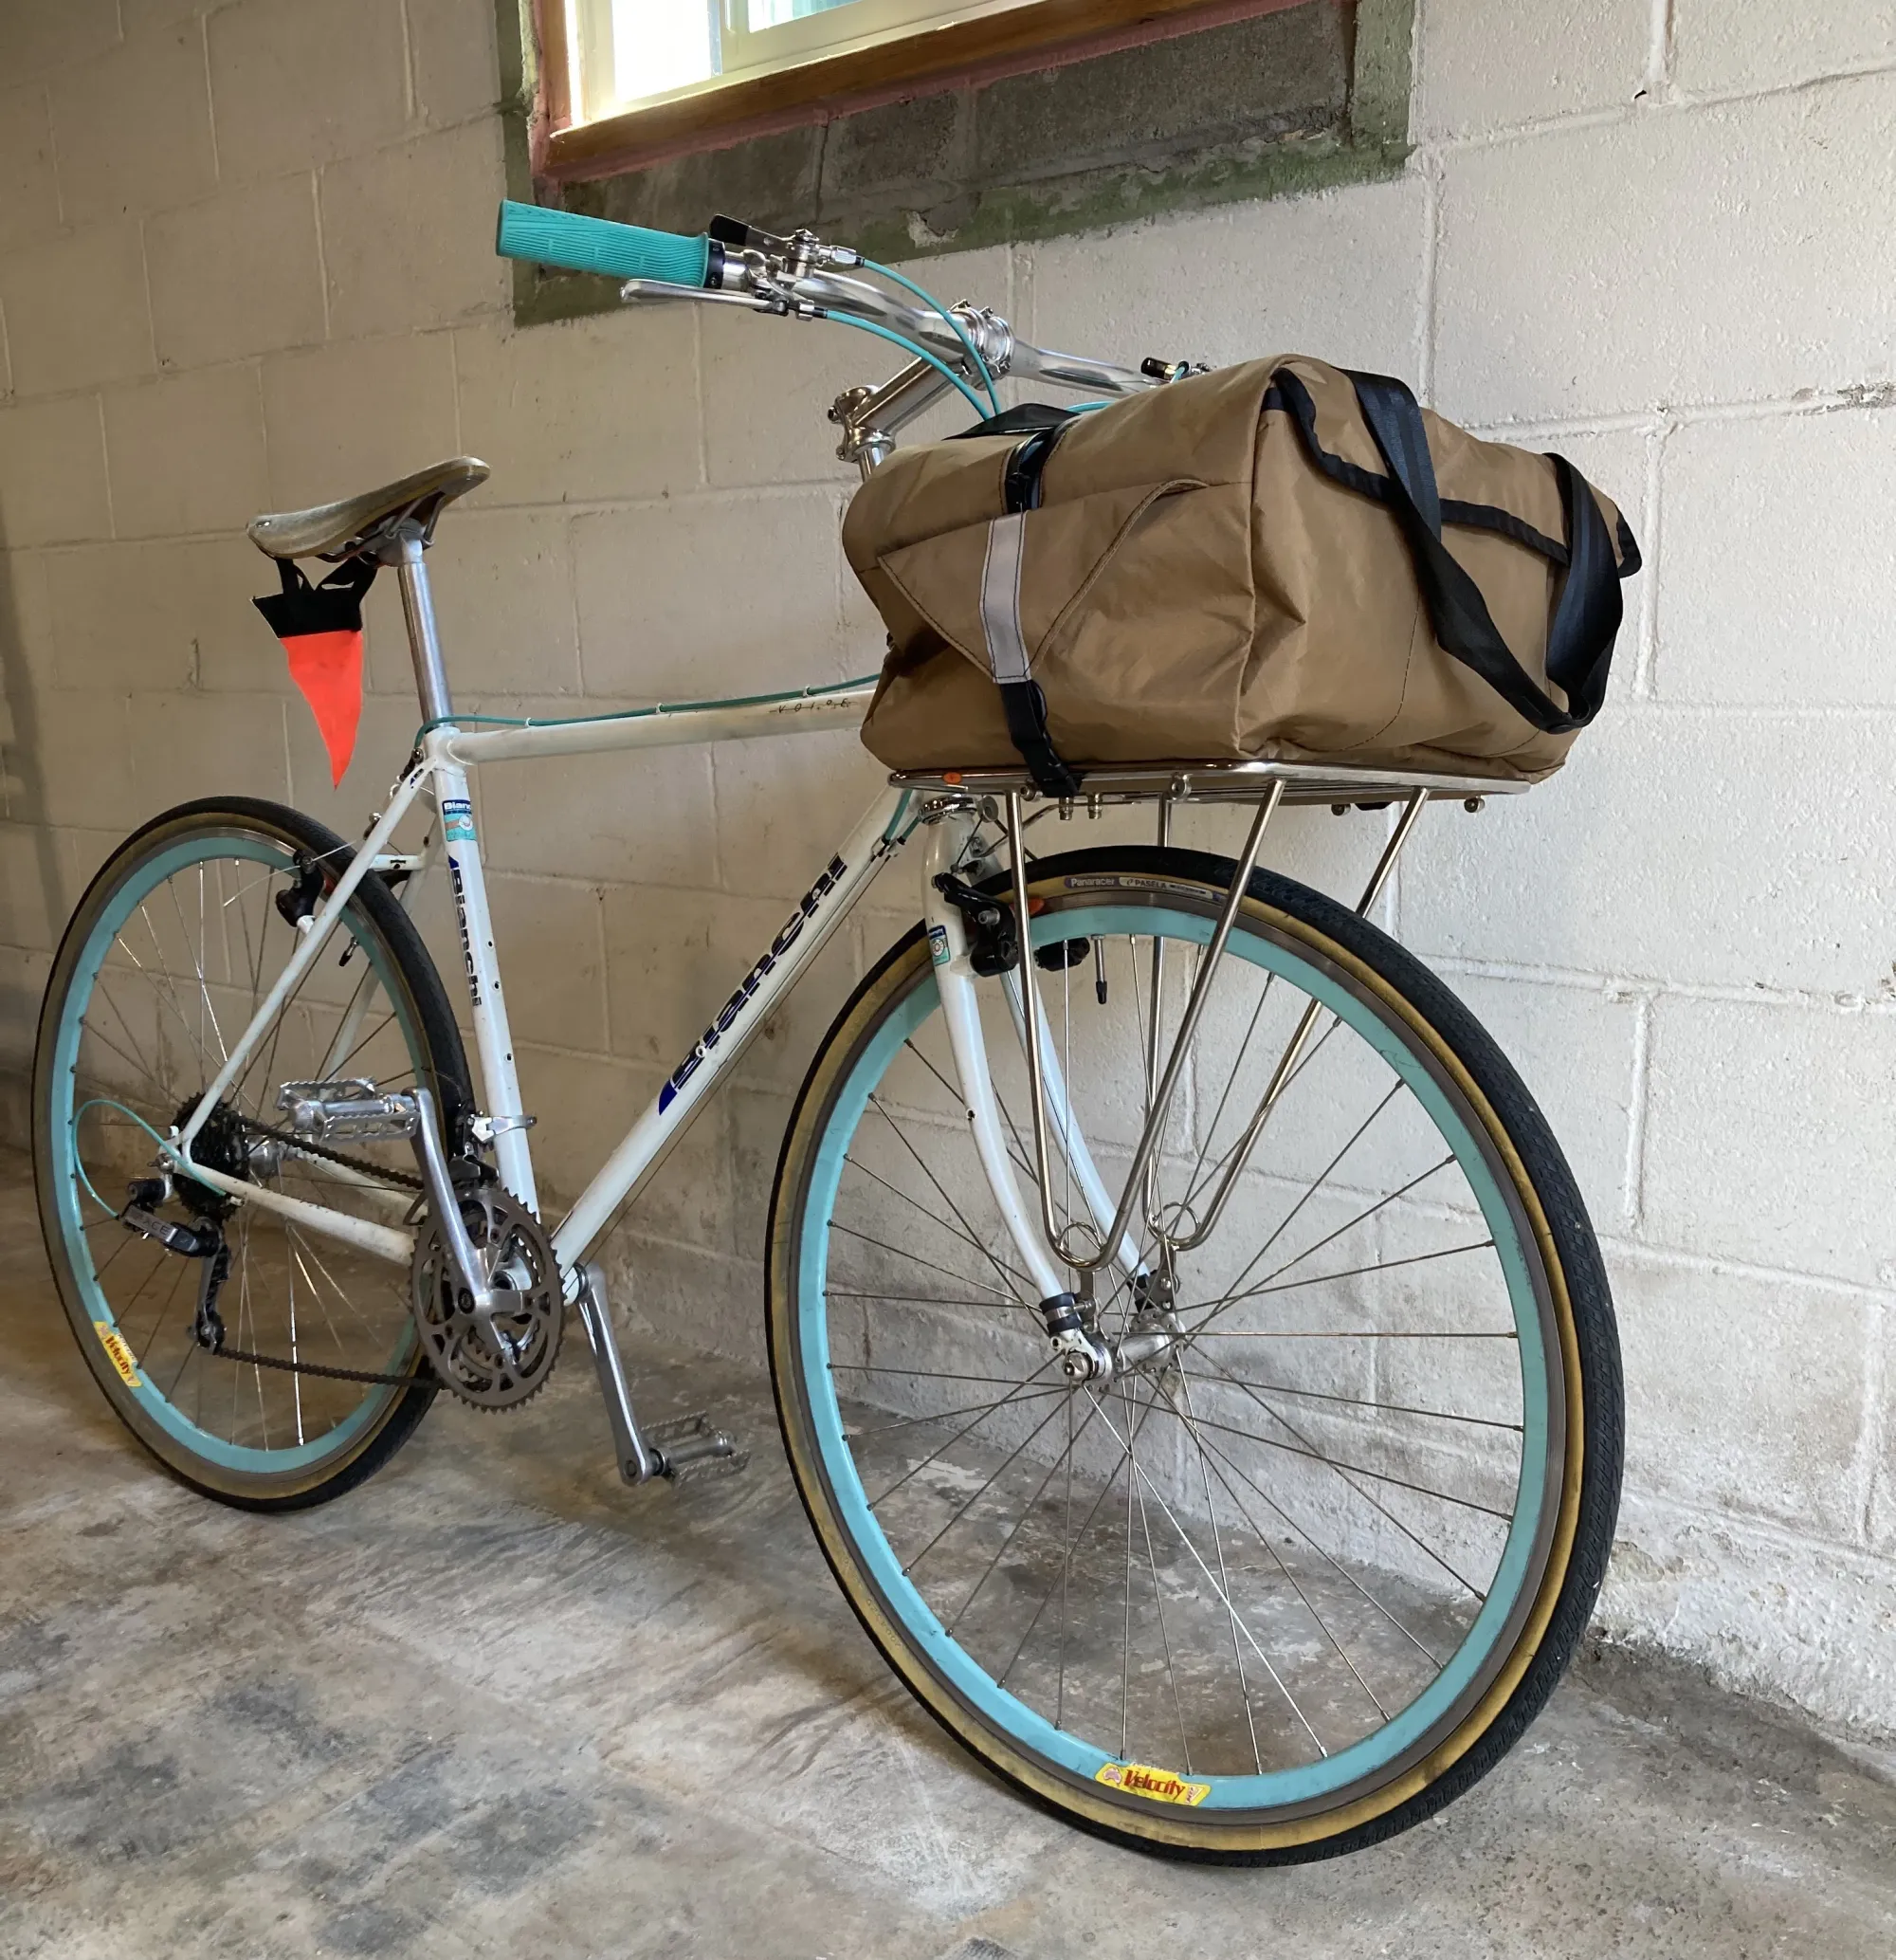
My partner is not adrenaline motivated, but they are beach motivated, so I set out to convert my old road bike to an upright snack mule for long days by the lake. This was my first time really tinkering with a bike, and I had a blast. I think it came out pretty well too. At the very least, it came out shiny.
Parts list
New:
- Soma High Rider stem adapter
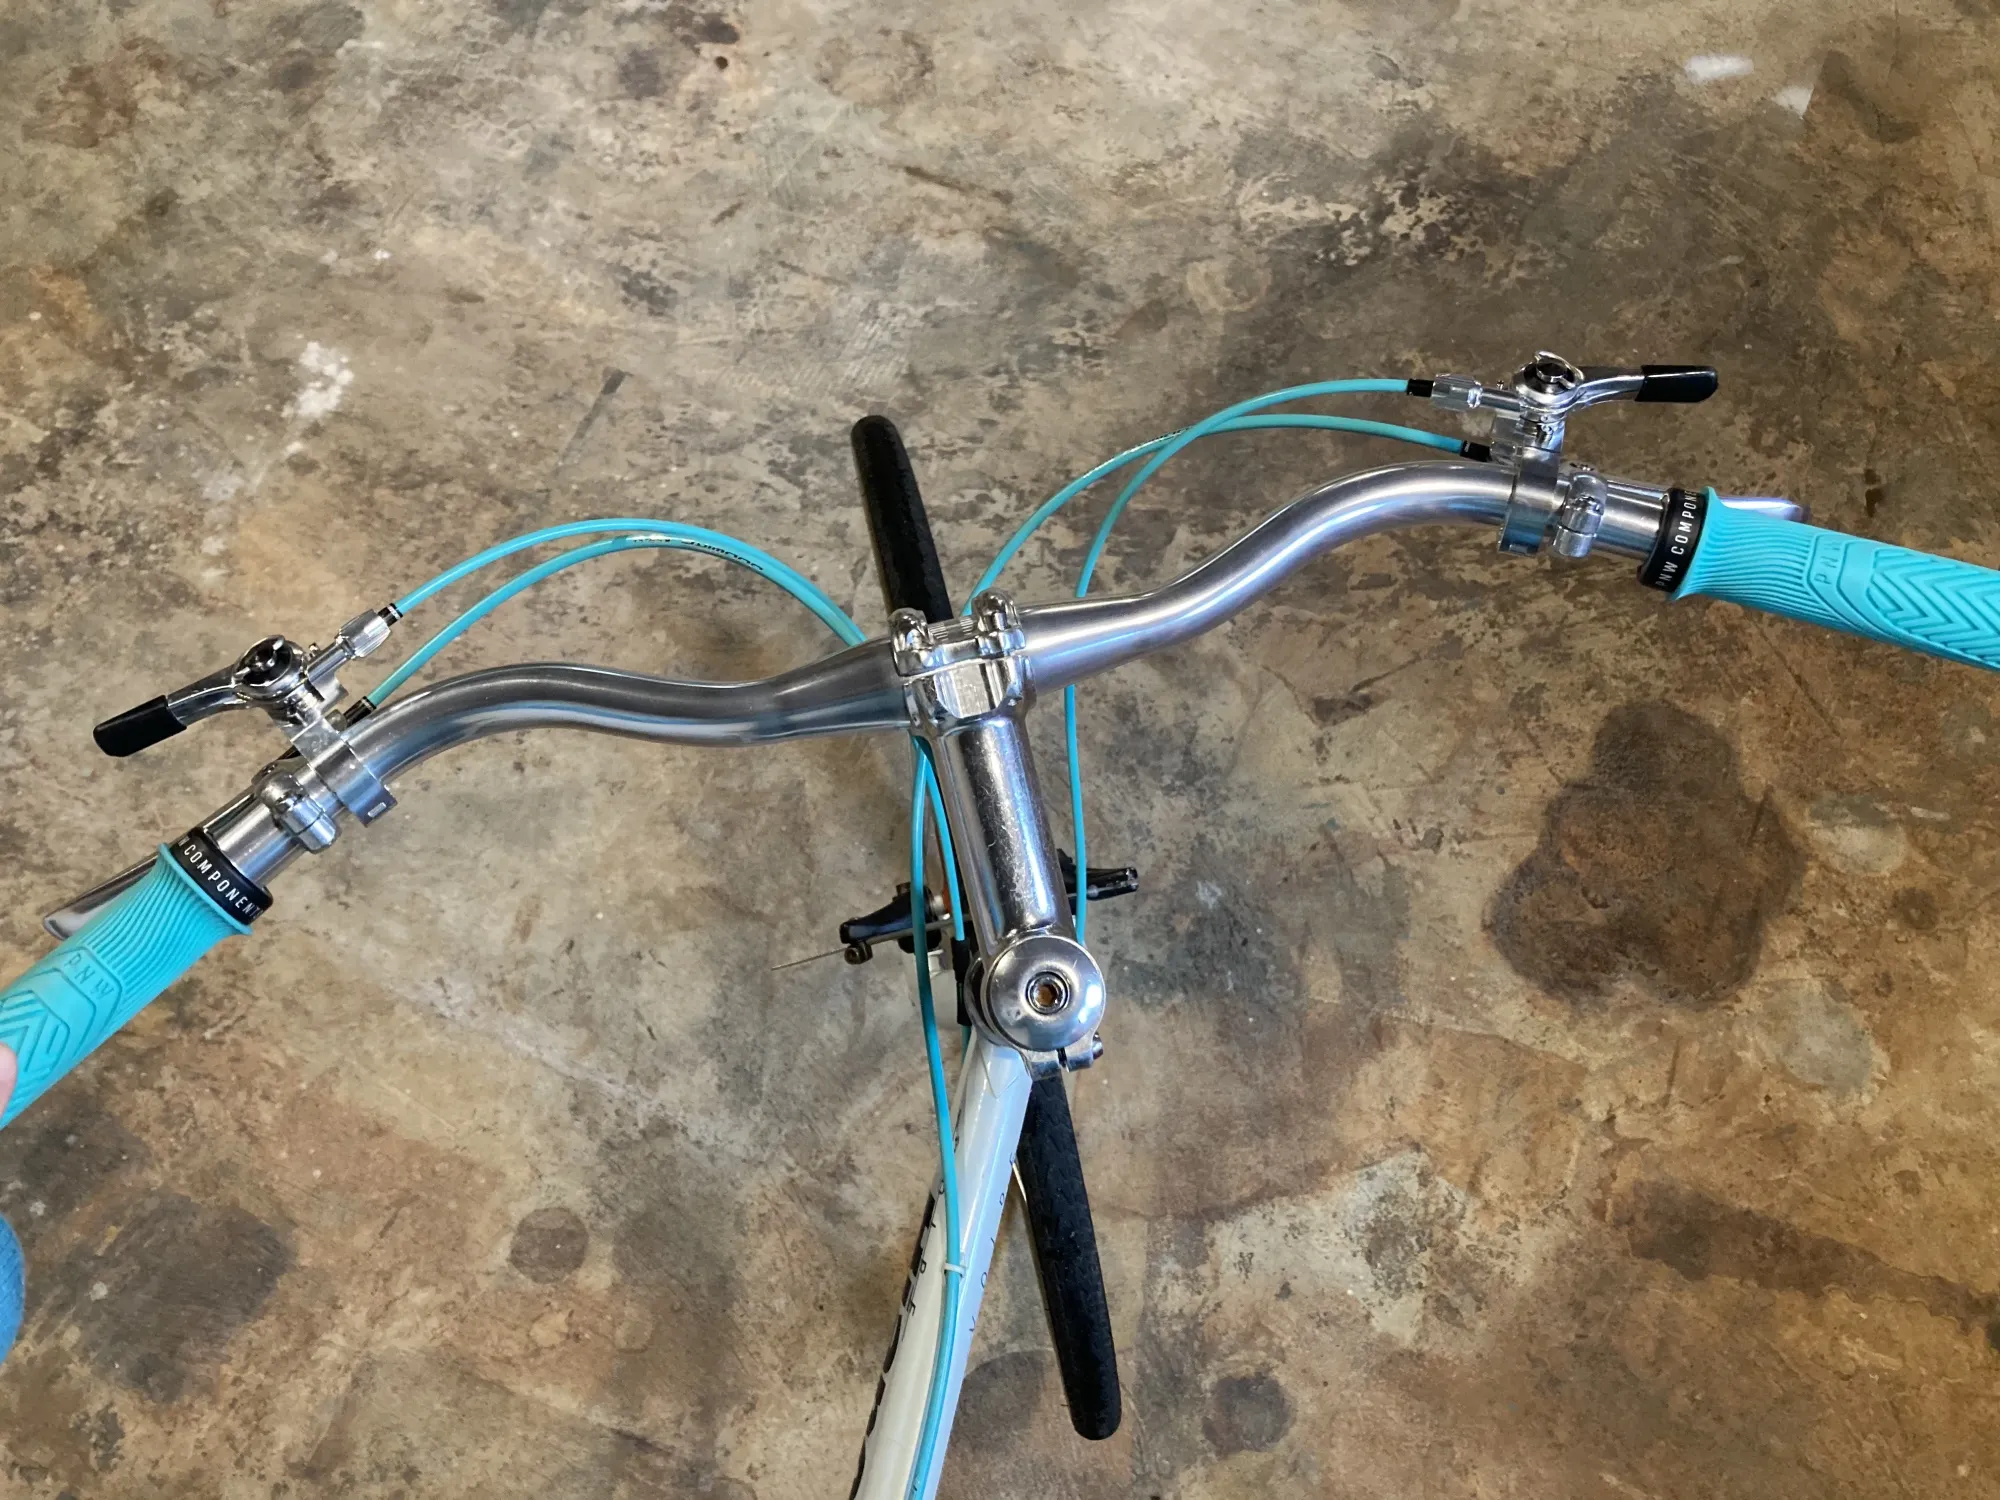
- PNW Components grips
- cables and housing
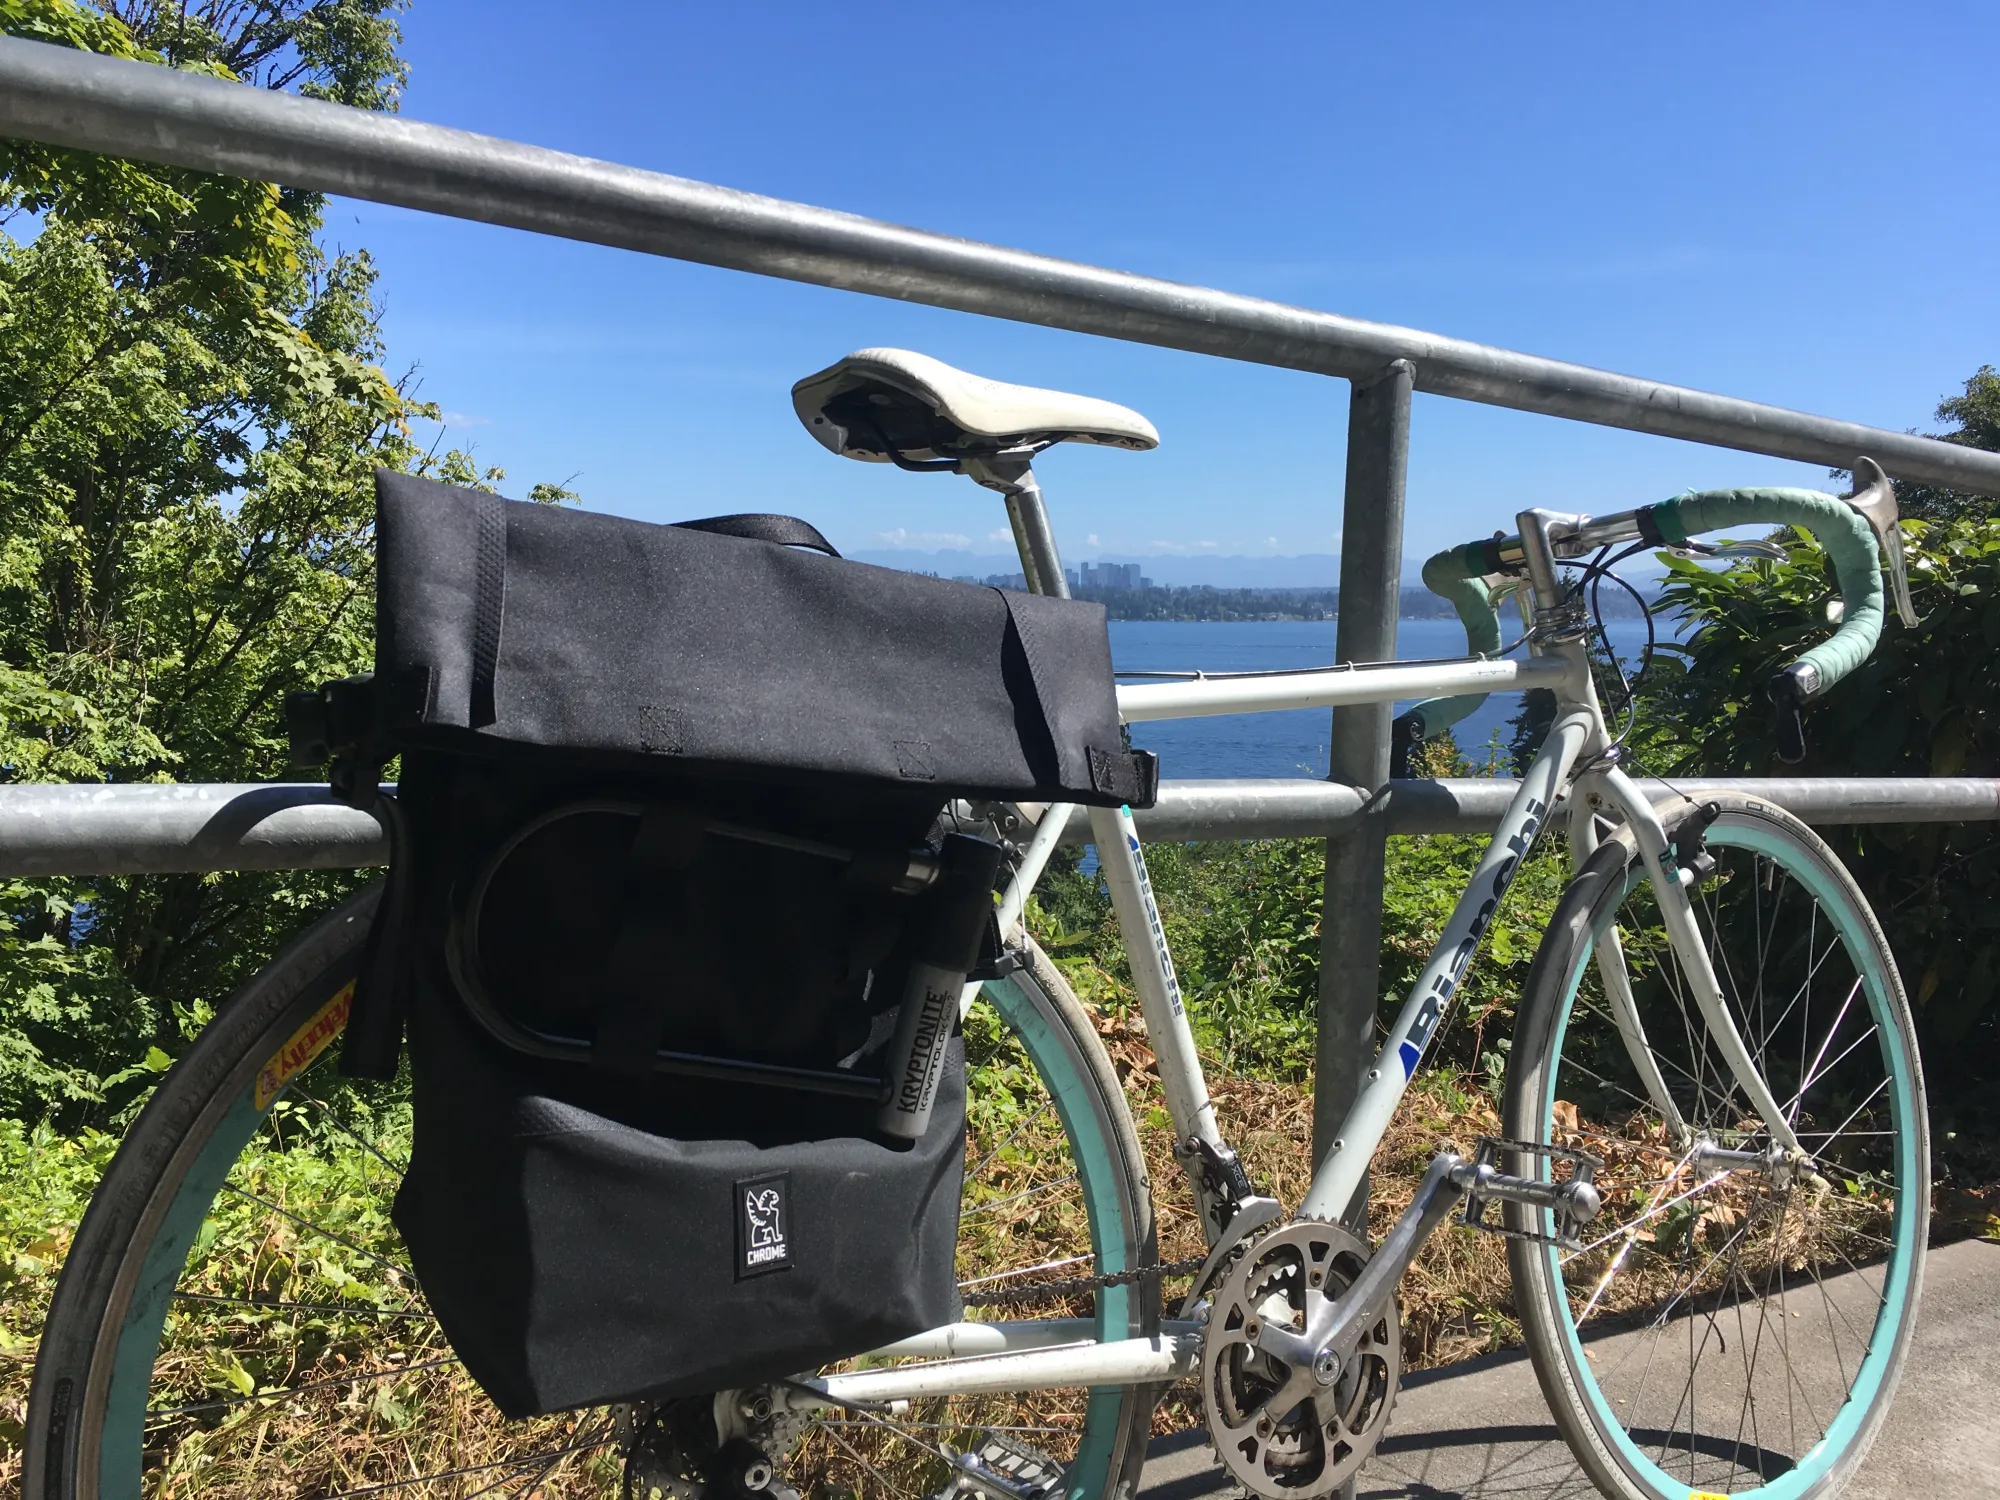
- Swift Motherloaf bag
- IRD friction shifters. If I had to do this build again, I might try something less expensive like Microshift friction shifters or look for other used good condition friction shifters for flat bars.
Used, good condition:
- Velo Orange Curvy Bars
- Velo Orange Porteur Rack
- No name neck. Next time, I might look for a dirt drop stem or a thinner, shorter neck.
- Brooks Cambium
Build photos
Build notes
Mounting the rack
The 1989 Bianchi Volpe does have mid-fork mounts and fender mounts, but had nothing for the giant front rack I got. My local bike shop advised me to try p-clamps, and they seem to be working well about 6 months in. They said once you get to p-clamp land, you're doing more art than science and you just have to see what works.
I used a long hex head screw with a butterfly nut on one side (easier to turn) and a bolt on the outside.
The listed weight limit for this rack is 25 lbs, and while I don't think we hit that with our loaded beach bag, we do put a lot of stuff in it and have not had any issues with rack stability.

Adjusting the saddle
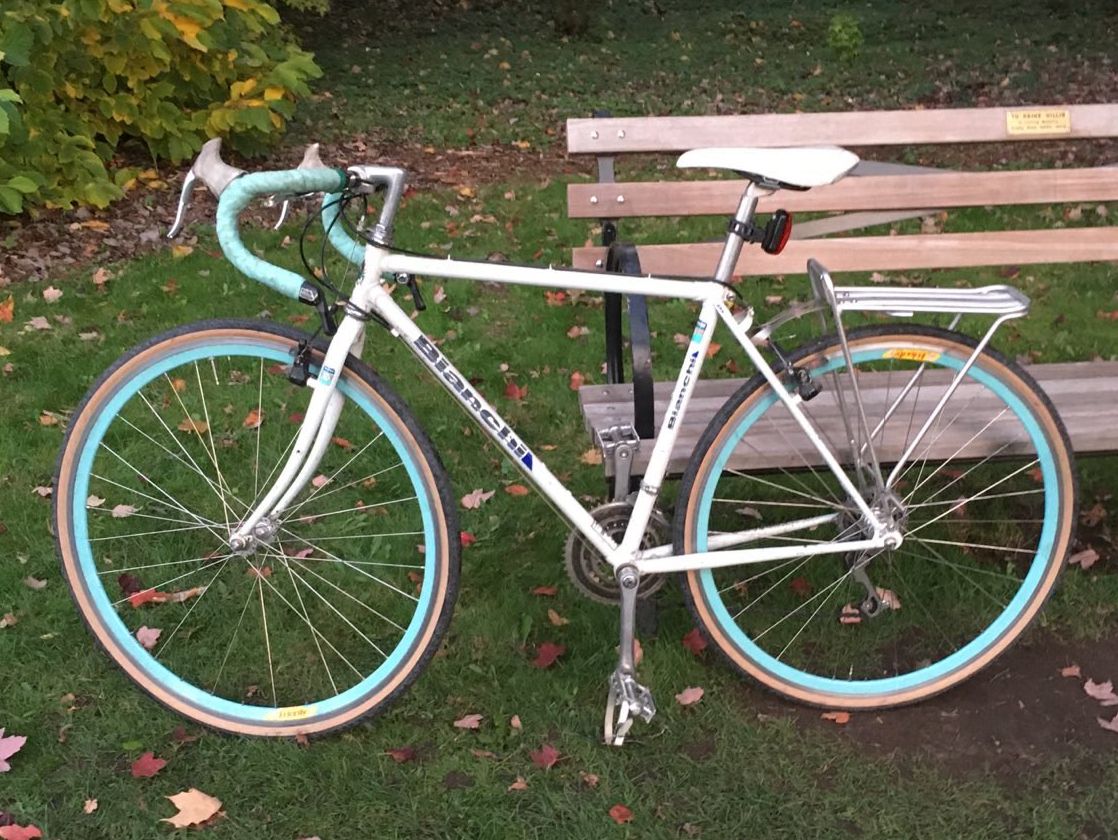
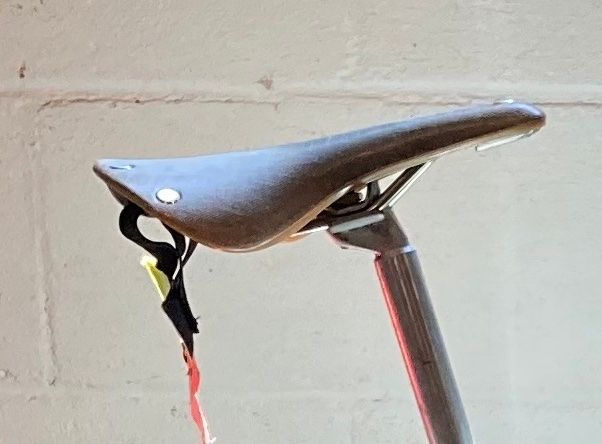
Before this whole build, when I planned to pawn off my bike on my partner with no input from them, they immediately noticed the uncomfortable saddle. I eventually swapped it for a well-worn Brooks Cambium that at one point had been white. The seat was much wider than the previous one, so provided more support to my partner's sit bones and made a big difference in riding comfort.
As a side note, I've read that sit bones support is more important than a cushioned saddle for comfort!
But the saddle positioning took more time to figure out. Aside from adjusting saddle height, you can also adjust tilt and horizontal position. In this photo, you can see that the saddle is pushed as far back as possible, horizontally. I did this because I assumed it would create a more relaxed riding position. But it actually forced my partner to stretch their back and overuse their knees to pedal. So we ended up pushing it forward an inch or more, which helped a lot.

What have you done to keep a beloved old bike going? I'd to love to hear in the comments!
Member discussion